
Create Your Own Moonlit Forest Journal with This Printable Kit
There is something lovely about opening a journal you have put together yourself, choosing which picture belongs on the cover and finding places to tuck little notes. In this tutorial, we’ll use the Moonlit Forest kit to assemble a journal and decorate two pages with pockets, tags and a small folded folio.
The kit’s night skies and woodland illustrations give us a theme to work with. You can follow the choices shown in the video or pick different papers as we go. Hold pieces against your page to judge their size and position, and fold wherever feels right for your arrangement.
Watch the Moonlit Forest journal tutorial, then use the instructions below whenever you want a closer explanation.
Gather Your Materials
Along with your printed Moonlit Forest pages, you’ll need:
- Paper or card
- Scissors
- Glue suitable for paper
- A needle and strong thread
- A hole punch if you want to add twine to your tags
Washi tape, ribbon and twine are useful finishing touches, so bring out anything you already have that you would like to use.
If you’re downloading the kit for the first time, open the PDF supplied with your purchase and follow the link inside to access the printable files.
Prepare Your Printed Pages
Start by choosing the illustrated sheets and writing pages you would like in your journal. In the tutorial, I use card printed on both sides, with illustrations on the outside and writing pages on the inside.
You can also print the designs separately on paper and glue them back to back. Lay the sheets together first to check that both designs will face the right way when folded. Spread the glue evenly, paying attention to the edges, then smooth the sheets together and let them dry before folding.
I particularly like the contrast between the deep blue scenes and the lighter writing pages. It gives the journal a different feel as you turn through it, with space for handwritten notes among the illustrations.
If you would like more writing room, tuck some tea stained or plain filler pages between the printed sheets. Check the thickness as you add them so the folded stack remains manageable to stitch.
You can see the page preparation from 1:22 in the video.
Choose Your Cover
For my cover, I chose the full moon surrounded by wildflowers. It introduces the woodland theme beautifully, but any of your favourite illustrated pages could go at the front.
Fold your chosen cover and arrange the other folded sheets inside it. Turn through them before binding to see how the pictures sit beside one another. This is a good moment to move a writing page between two busier designs or bring a favourite illustration closer to the beginning.
Once you like the order, settle the folded edges together and hold the stack firmly in place.

Bind Your Journal
Binding begins at 2:36 in the tutorial. You could tie ribbon or twine around the centre fold, although I find the pages can shift with this method. Stitching through the fold holds them more securely.
For a simple stitched binding, make three holes through the folded stack: one near the centre, one towards the top and one towards the bottom. Judge their positions by eye, leaving enough paper beyond the outer holes to keep them from tearing. A bookbinding awl is helpful for making the holes before sewing; work over a protective surface and keep your fingers clear underneath.
Use a sturdy needle with an eye large enough for your thread. The thread needs to travel along the spine and leave enough at each end for a knot.
- Begin inside the journal and pass the needle out through the centre hole, leaving a tail inside.
- Come back in through the bottom hole.
- Pass out through the top hole, carrying the thread along the inside fold.
- Return through the centre hole.
Keep the two loose ends on opposite sides of the long stitch inside the journal. Gently draw the thread snug, then tie the ends together over that stitch and trim the tails. The pages should feel secure without the thread pulling hard against the holes.
Add a Corner Pocket
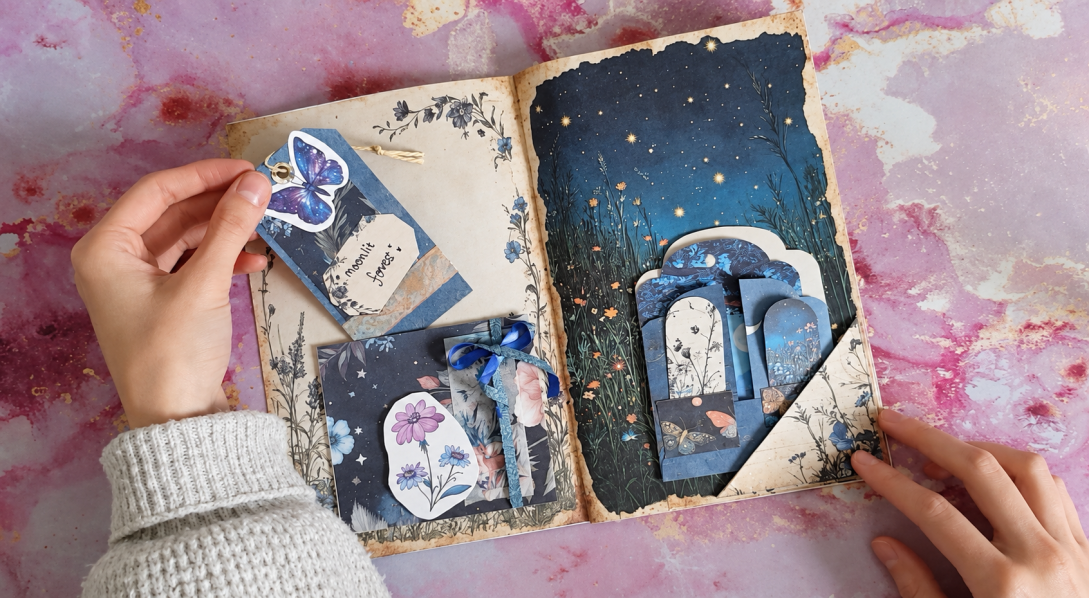
With the journal assembled, we can start decorating. At 4:34, I choose a corner pocket and back it with card because I originally printed it on paper.
If yours also needs strengthening, glue it to a piece of card, let it dry and trim around its shape. This gives it a little more support when you slide tags in and out.
Try the pocket against your page before attaching it. I chose a lighter design to stand out against the dark background, making the pocket easy to see without covering too much of the illustration.
Apply glue along the two straight edges that sit against the corner of the page. Keep the diagonal edge open. Press the glued edges down and allow them to dry before slipping a tag inside.
Make a Pull Out Pocket
At 5:03, I use patterned paper to make another pocket, with a small tab for attaching it to the first page.
Fold the paper to form the pocket and leave a tab at the side where you want it to join the journal. Before gluing, place a tag between the folded layers to check the fit. Leave a little room around it so you can take it out easily.
Close the bottom and side edges with a narrow line of glue, keeping the intended opening clear. Attach the tab to your page, checking that the pocket moves freely and sits comfortably when the journal closes. The video is useful here for seeing how the fold and tab work together.
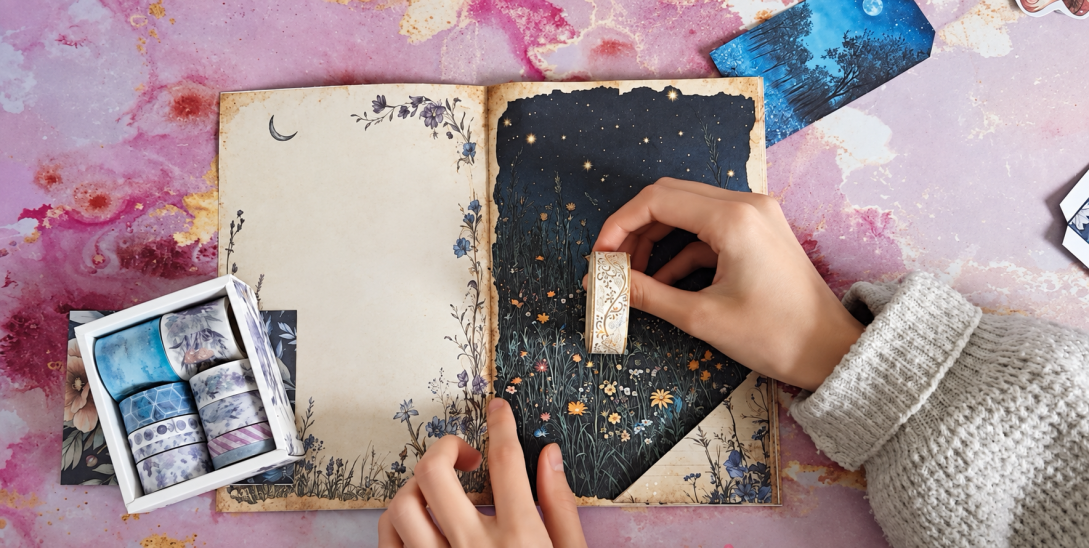
I finish mine with forest themed washi tape. You could use a strip of another patterned paper, or add ribbon or twine. Keep any decoration away from the opening so it does not catch on the contents.
Fill Your Pockets with Tags
Tags give you extra writing space without adding another full page. You might use one for a date and a few words, or write a longer note on the back and tuck it out of sight.
At 6:38, I punch a hole near the top of a tag and add twine. Leave enough card above the hole to keep it strong, then thread the twine through and tie it loosely. It makes a useful little handle as well as a finishing detail.
Next comes the loaded pocket, shown at 7:01. Fold its three tabs inward and check how it sits on the page. Apply glue to the tabs, attach the pocket and leave the top open.
Once it is dry, try the large tag and smaller rounded tags together. Let their tops sit at different heights so each one is visible and easy to reach. Stop before the pocket feels tight or begins to bulge away from the page.
Add a Paper Band and Small Folio
For the next page, I use a square pocket and a strip of patterned paper to make a band. You can follow this part from 7:30.
Fold the ends of the strip underneath to create attachment tabs. Place the piece you want to hold beneath the band before fixing it down. This lets you judge how much room to leave, rather than guessing and finding the fit too tight afterwards.
Glue the tabs into position, leaving the middle of the strip unattached so you can slide your insert beneath it.
In the tutorial, I use a journal layer printed at a smaller size and folded into a little folio. Choose a size that sits comfortably on your page. You can add writing inside, tuck in a small note or use it to hold a photograph.
Slide the folded piece beneath the band and close the journal gently to check that everything settles into place.
Continue Through Your Journal
You now have a bound journal and two pages with places to write, tuck and collect. On the next page, you might repeat a pocket in a different paper or leave a favourite woodland scene open beside a handwritten note.
As you use the journal, you’ll discover what you like keeping in it. Let those little collections help you decide what to add next.
Find the Moonlit Forest printable kit here.
LEAVE A COMMENT
Recent Posts



0.0534