
Your First Junk Journal Page: 5 Easy Ideas to Get Started
You might have a notebook ready and a growing pile of scraps, but still be wondering what to put on that first page. Choosing something to focus on, such as a small memory or a favourite flower, makes it easier to decide which pieces to use.
These five ideas give you somewhere to begin, with simple layouts you can adapt to whatever you have collected.
Gather a Few Things Before You Begin
You only need a few basics:
- A notebook
- A glue stick
- Scissors
- A pen
- A handful of paper scraps
An envelope, a piece of wrapping paper, a receipt or a picture from a magazine can all find a place on your page. Stickers and decorative tape are welcome if you have them, but there is no need to shop before you start.
1. Start With One Small Memory
Choose something that reminds you of a moment you would like to keep. It could be a ticket from a day out, a photograph of a friend or a receipt from your favourite café.
Make that piece the focus of your page. Try placing it on a slightly larger scrap of coloured or patterned paper, leaving a border visible around the edges.
Beside it, write the date and one detail you might otherwise forget. Who were you with? What made you laugh? A note such as “We stayed talking until they began stacking the chairs” brings more of the afternoon back than the receipt could on its own.
For this layout, a keepsake, a paper border and a few words are enough to make a complete page.
2. Choose a Theme to Guide Your Page
A theme helps you decide what to gather. Flowers are a lovely starting point because you can find them on wrapping paper, greeting cards, paper napkins and magazine pages.
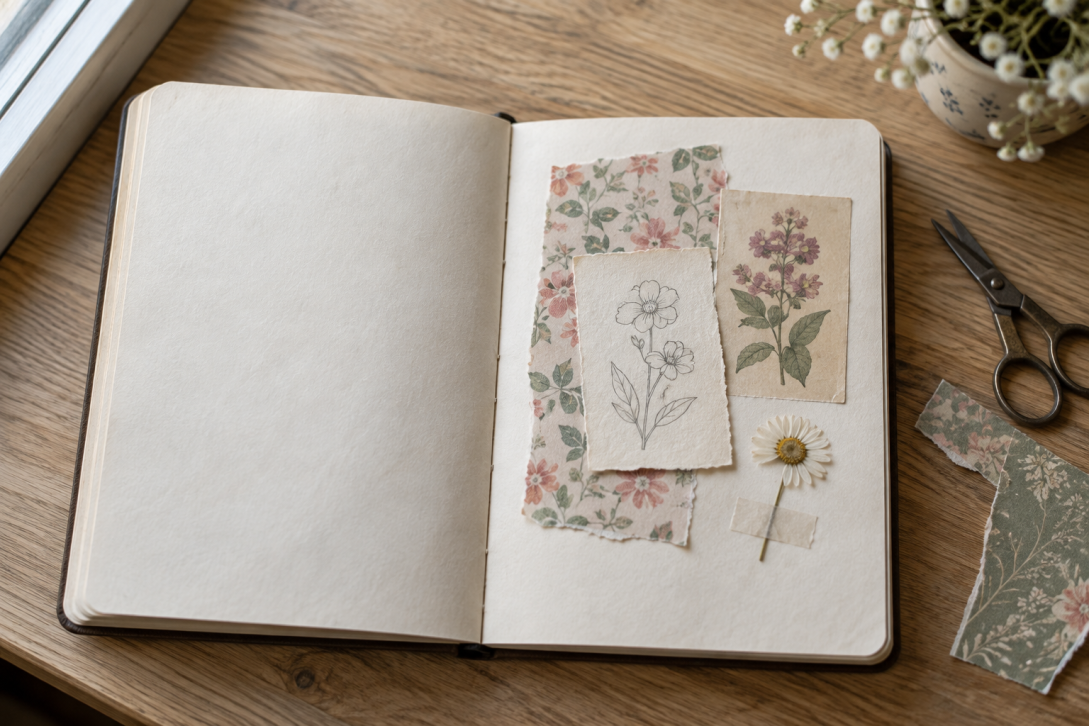
Try collecting a few different versions:
- A floral picture or a scrap of patterned paper
- A printed flower outline to colour in
- A flower you have drawn yourself
- A pressed flower, fully dried before you attach it
Choose one larger image as the focus, then arrange smaller flowers or petals around it. Mixing a simple pen drawing with printed pictures gives you variety without needing lots of materials.
Your theme could also be birds, the seaside, favourite foods or a single colour. Choose something you enjoy looking for, and let that guide your collection.
3. Make a Pocket for Little Keepsakes
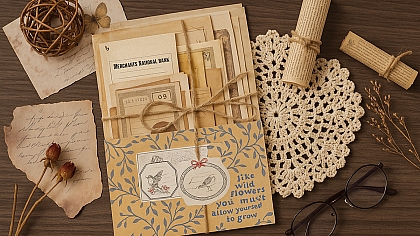
A pocket gives loose pieces a home and lets you take them out again. It is especially useful for a folded letter, a ticket with printing on both sides or a note you would rather keep tucked away.
A small envelope makes an easy pocket. Attach its back to the page, leaving the flap free to open.
You can also make one from a rectangle of paper:
- Check that the paper is slightly wider than the keepsake you want it to hold.
- Apply a narrow line of glue along the bottom and both side edges.
- Press it onto your page, keeping the top edge open.
- Let the glue dry before putting anything inside.
Decorate the front with a clue to its contents. A place name could introduce tickets from a trip, while a handwritten “open me” might suit a letter.
4. Capture an Ordinary Day
An ordinary day can give you plenty to work with. A shopping list, a label from something you cooked or a paper bag from the bakery can bring back details that photographs miss.
Gather two or three pieces and arrange them down the page in the order you collected them. This gives you a simple way to tell the story, from a morning errand to an evening at home.
Add a short caption beside each piece. You might mention a recipe you tried, something you noticed on your walk or the song you had playing while making dinner.
If a piece of packaging is too large, cut out the part that interests you: a tiny illustration, a few words or a patterned corner. You can keep the character of it without filling the whole page.
5. Create a Simple “About Me” Page
An “about me” page makes a welcoming opening to a new journal. Think of it as a snapshot of your current tastes, with details you may enjoy rediscovering later.
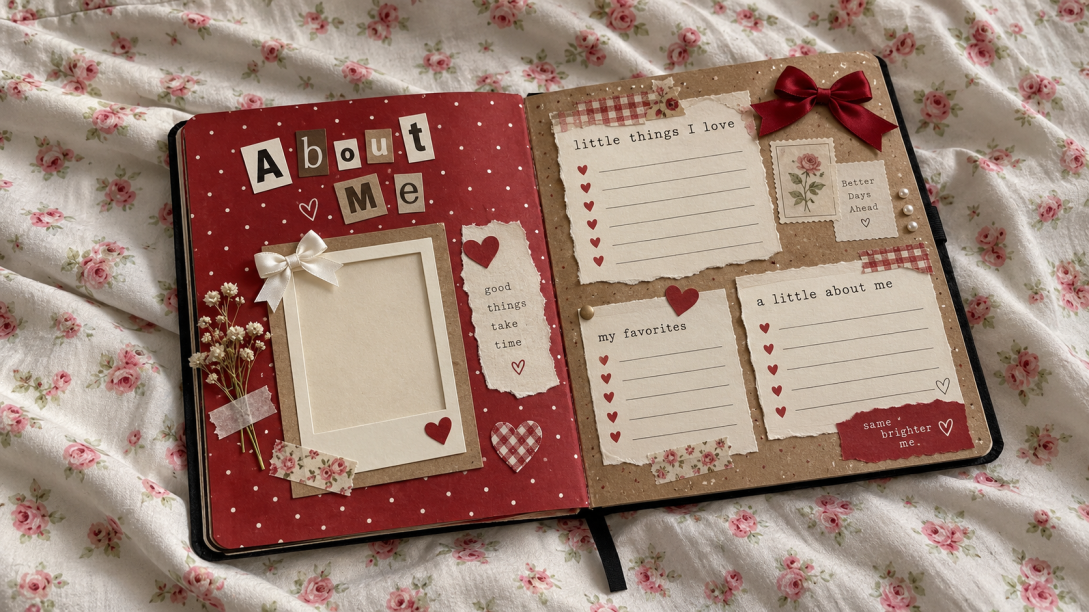
Choose three things to include, such as:
- Something you love eating or drinking
- A book, hobby or song you are enjoying
- A place where you like spending time
Give each one a small area on the page. You could use a tea label for your favourite drink, draw the cover of your current book or write the name of a place beside a photograph.
Add a few words explaining your choices. “My favourite tea” records a preference; “The tea I make when everyone else has gone to bed” captures a little of your life.
Date the page so you can see how your interests change as the journal fills.
Arrange Your Pieces Before You Glue
Once you have chosen an idea, lay out your pieces without attaching them. Move them around until any pictures or words you want to keep visible are easy to see.
If you are layering several scraps, take a quick photograph of the arrangement before lifting them. It gives you a reference while you glue the lowest pieces first and work upwards.
Add your writing once everything is secure and the glue has dried. This makes it easier to see how much room you have left for a caption or date.
Choose an Idea and Begin
Look through the materials you have and choose the idea that suits them. A floral scrap might lead to a themed page; a saved ticket might give you a memory to record. Put that first piece on the paper and build from there.
LEAVE A COMMENT
Recent Posts


0.0339